OVERVIEW
This is a guideline for project teams on how to setup XTOPIA AI Assistant widget in XTOPIA Masterpage.
Before this, make sure that you have done the following:
Step by step
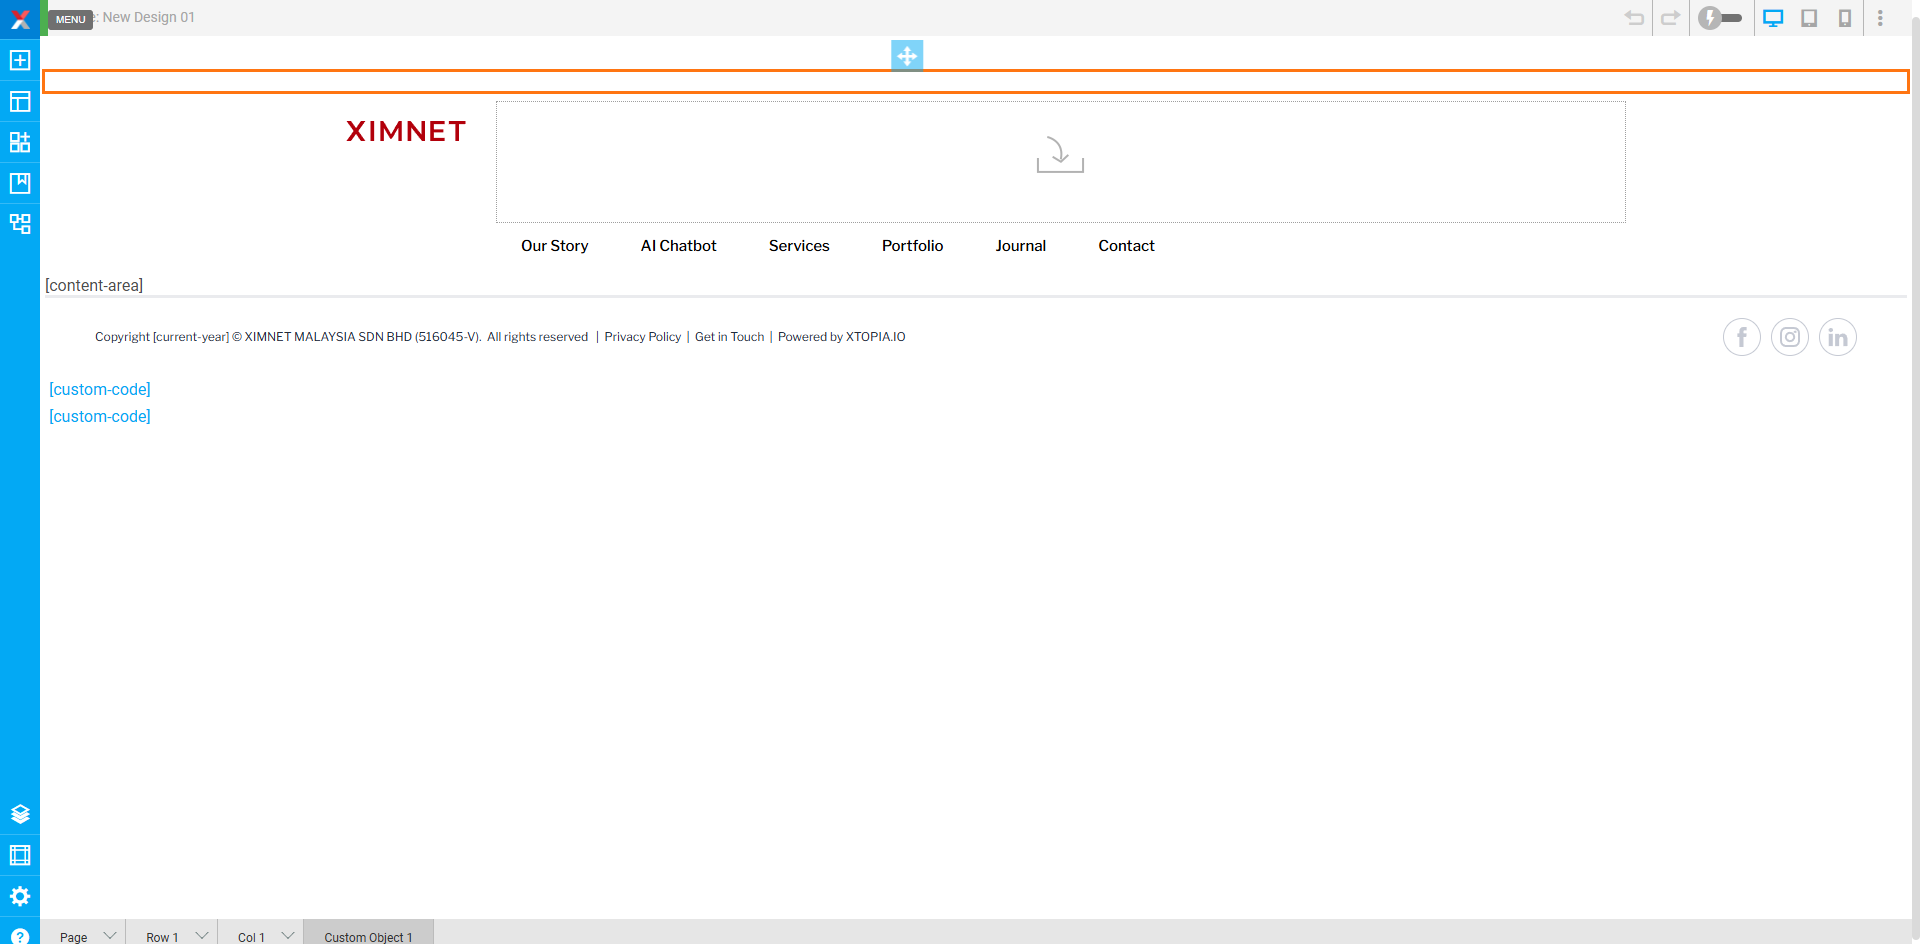
1. Open up the Masterpage that you want the AI Assistant Widget to be setup in.
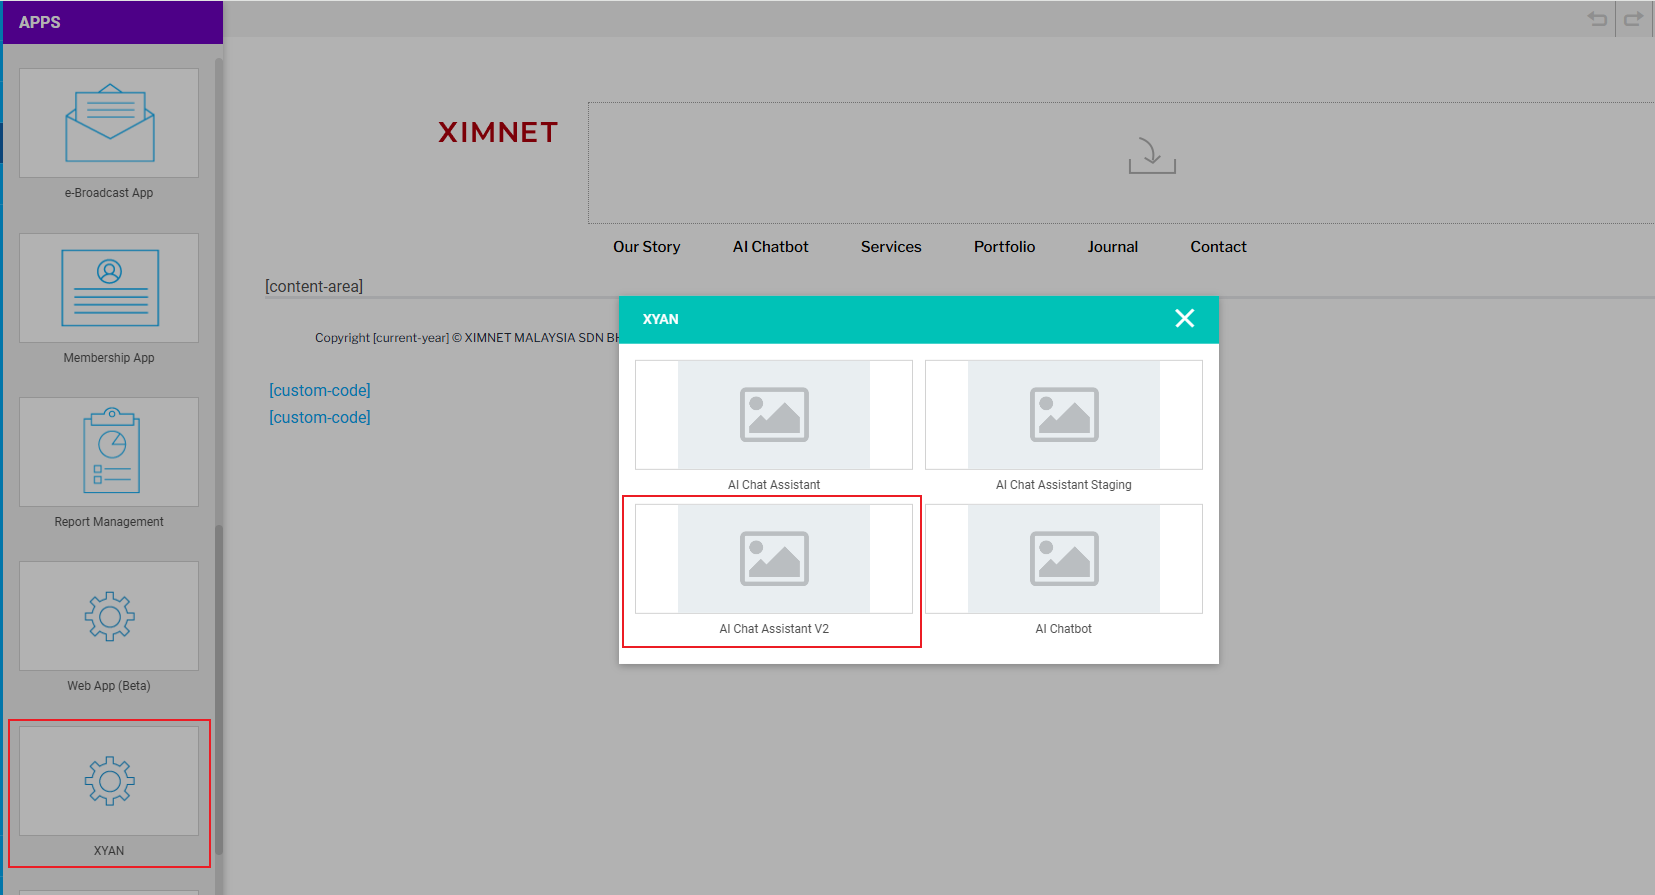
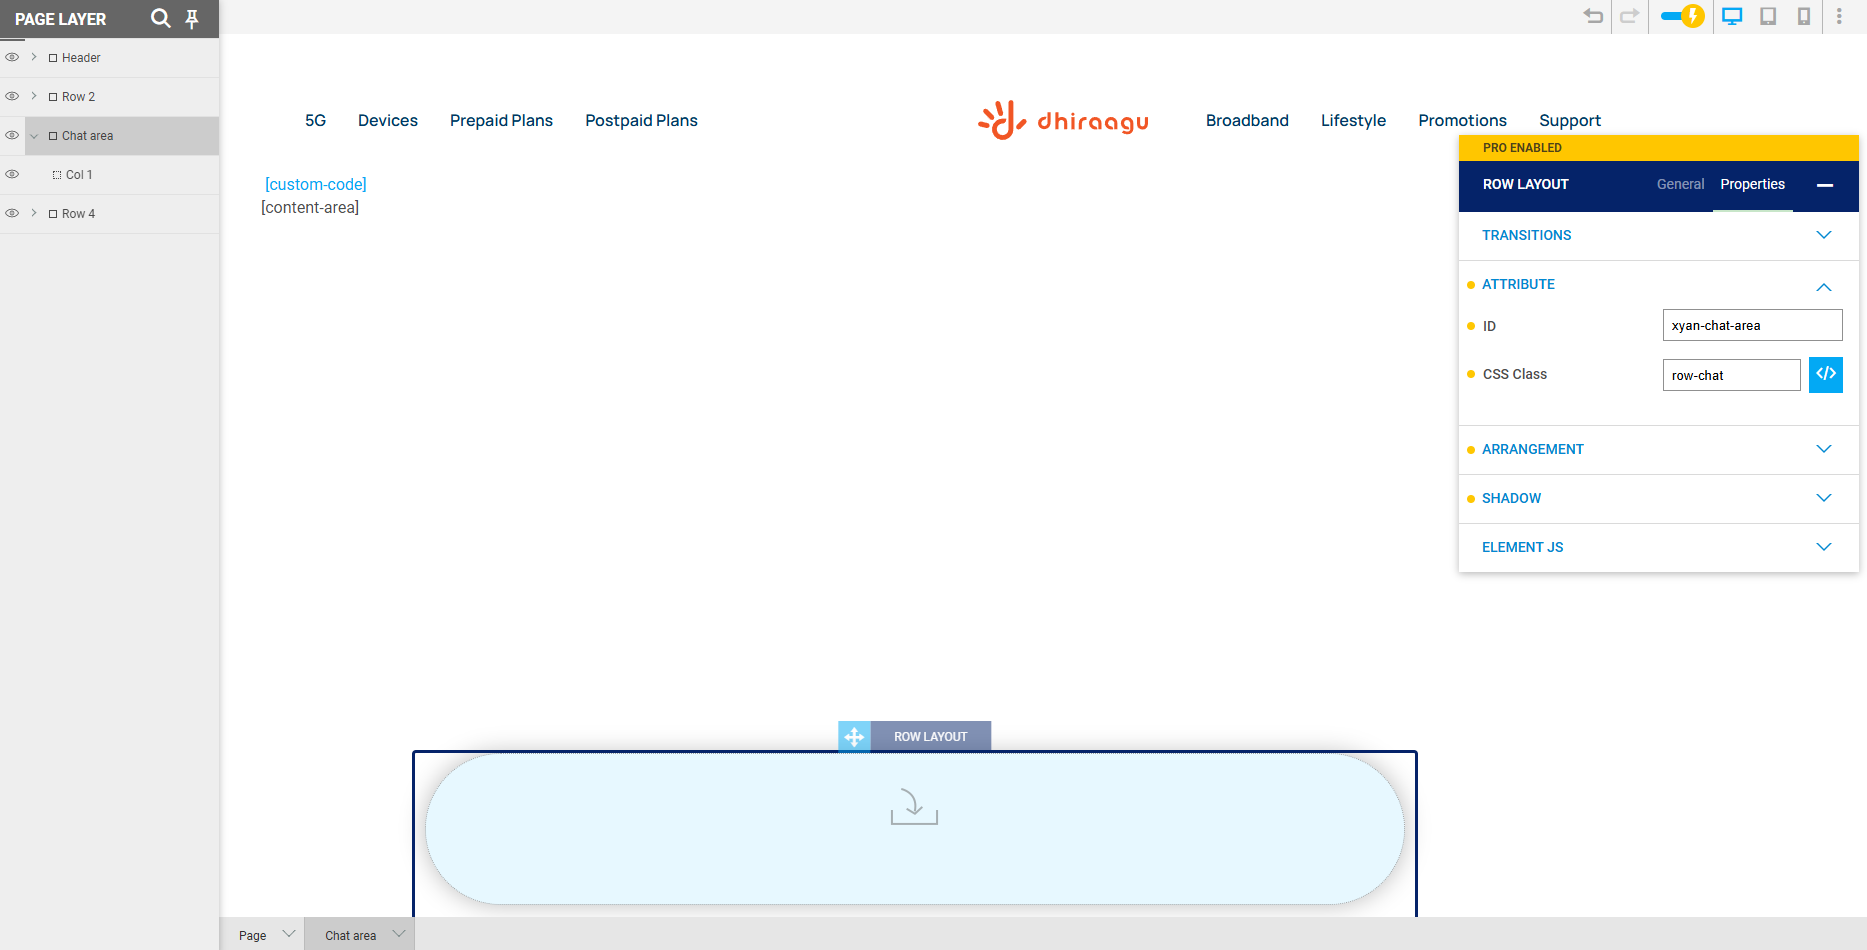
2. Drop the latest AI Assistant widget ( APPS > XYAN > AI Chat Assistant V2 ) onto the page. It can be anywhere. You may simple place it as the first row (as highlighted in screenshot).
2. Locate the outermost row that you want the Assistant Widget to be positioned at (normally the header row).
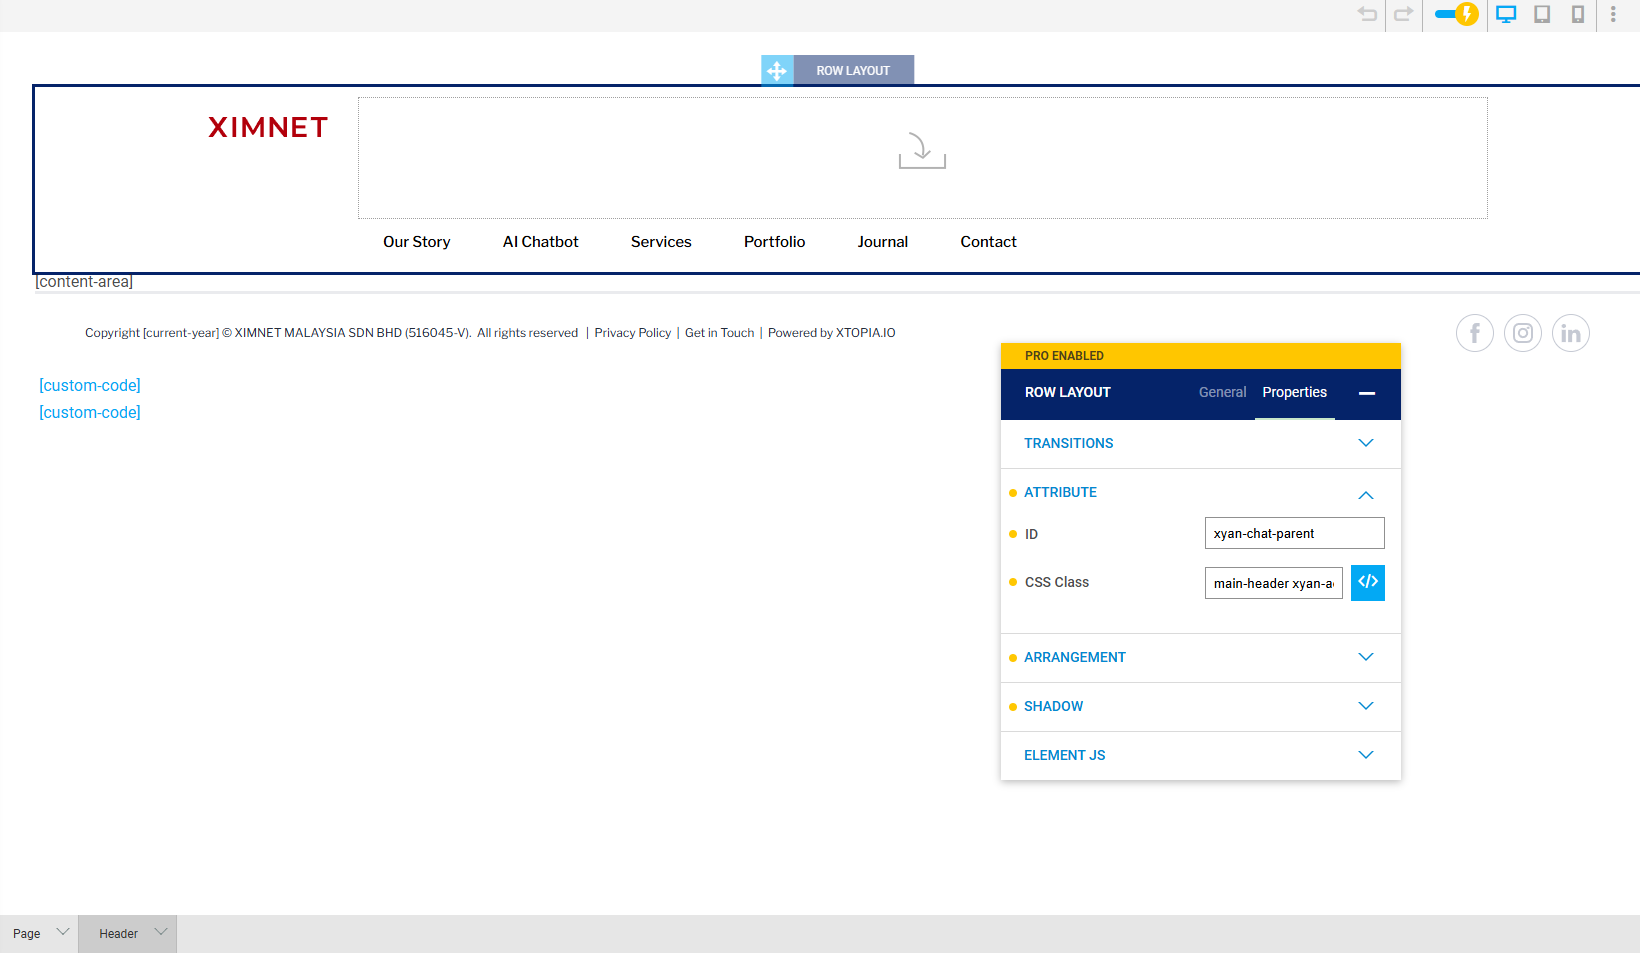
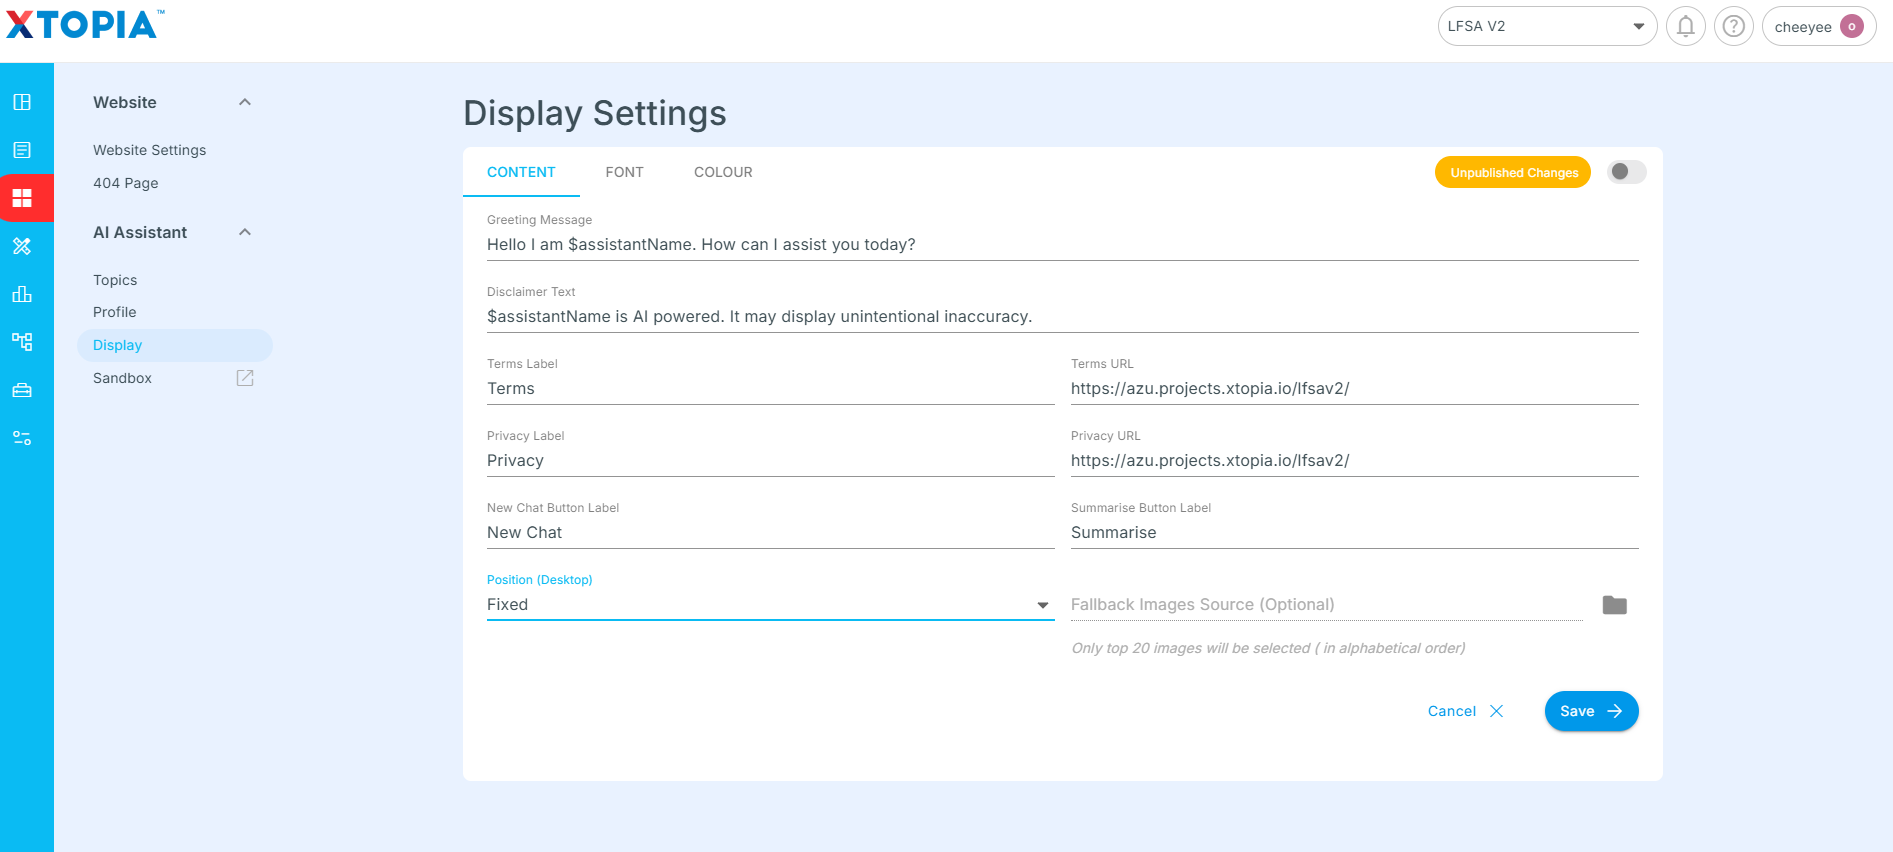
3. As of now, there is two modes available. Position ABSOLUTE (XIMNET) and FIXED (Merdeka Award).
4. For ABSOLUTE mode
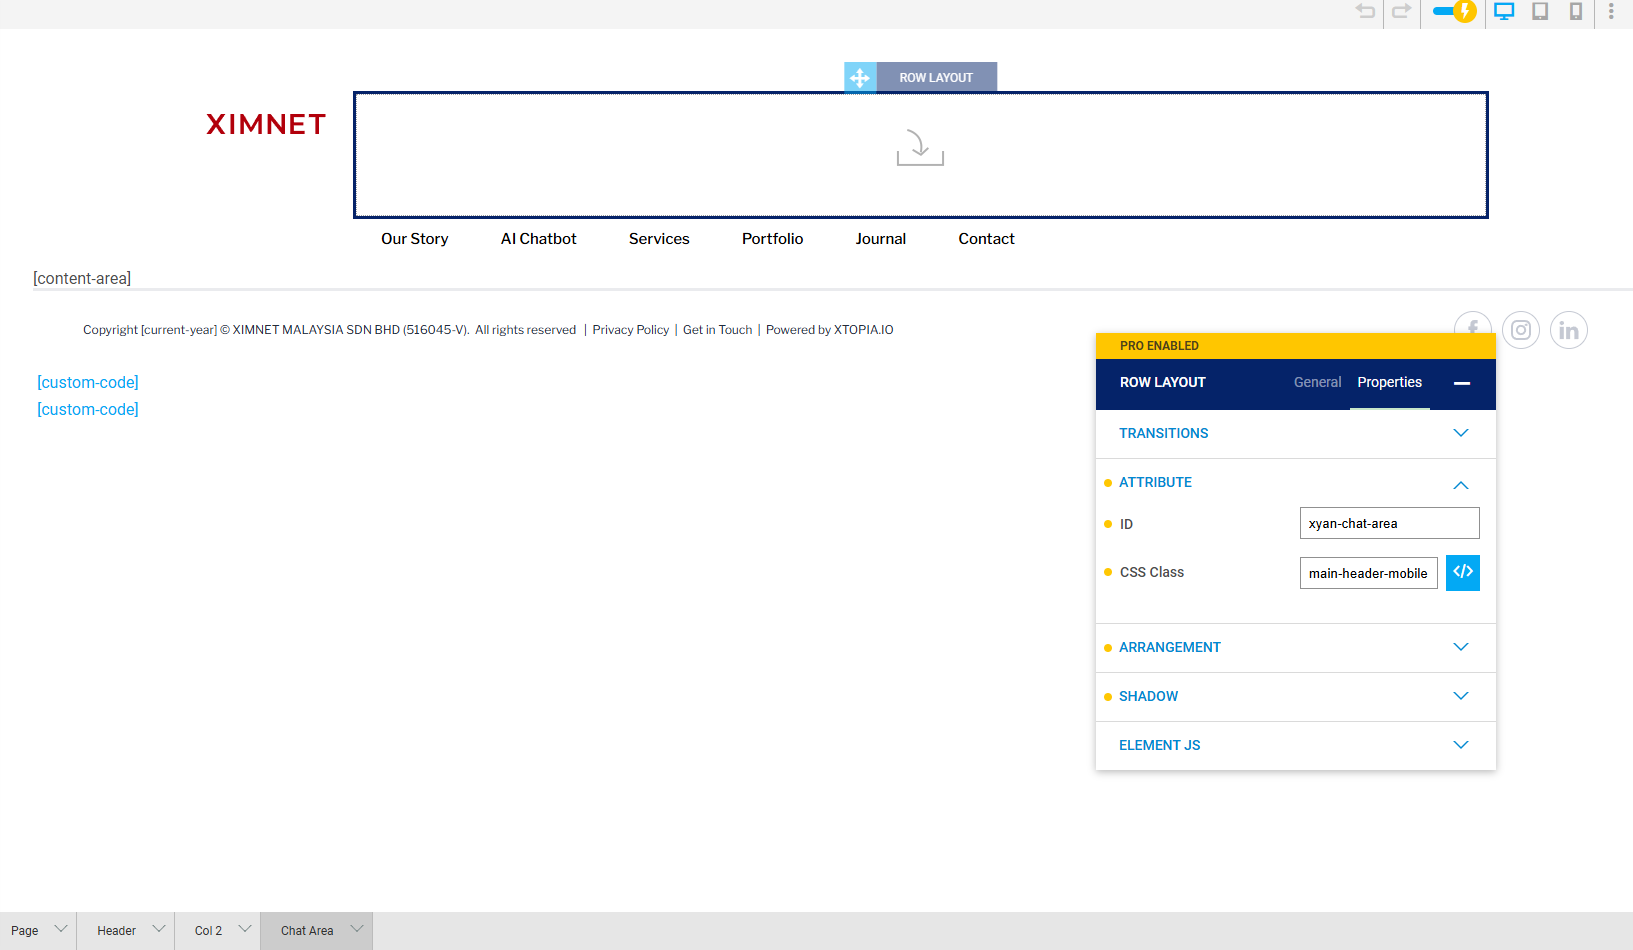
5. For FIXED mode
Example 1
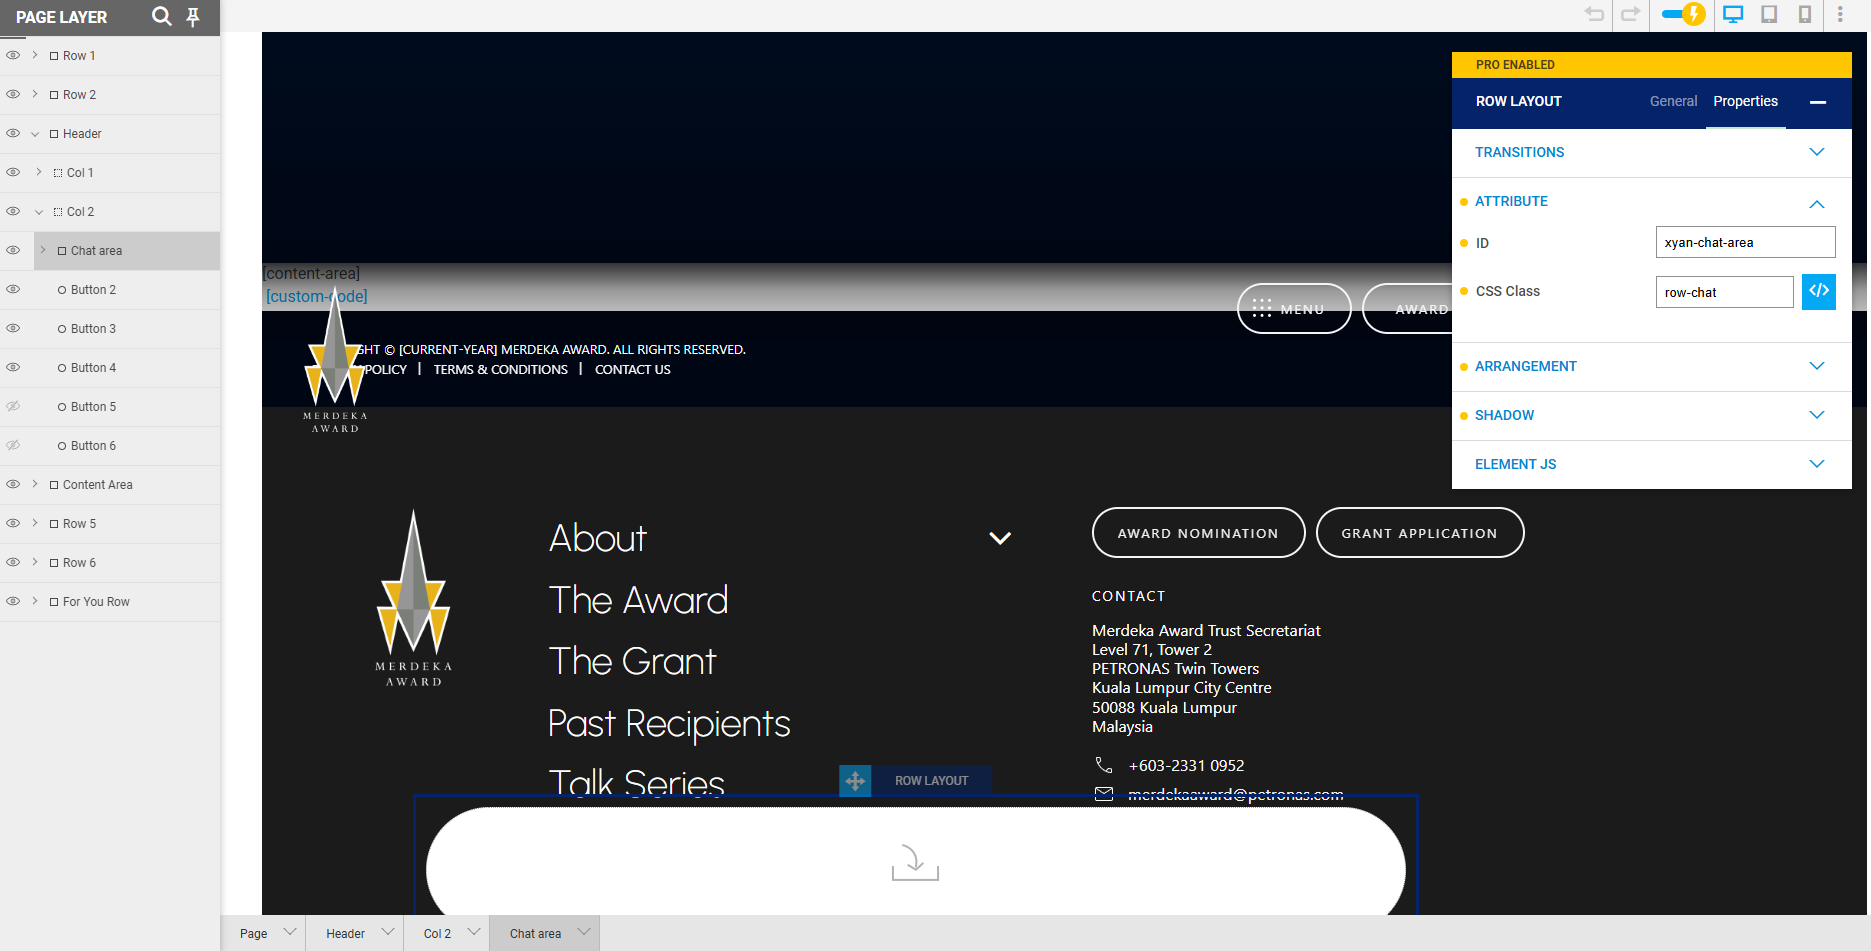
Example 2
6. Finally, this step is to tackle iOS devices bug.
7. Here are some CSS that you might need. You may modify it based on project needs:
Example CSS rules as below:
.main-header{transition:all 0.5;}
.main-header-mobile{transition:all 0.5s;}
@media all and (min-width: 768px) {
	.main-header{transition:all 1.8s; max-height:0px; opacity: 0;}
    .main-header.fade-in{max-height:300px; opacity: 1;}
}

@media all and (max-width: 767px) {
	.main-header-mobile{transition:all 1.8s; max-height:0px; opacity: 0;}
	.main-header-mobile.fade-in{max-height:100px; opacity: 1;}
}
8. These are the basic JS function available. Developer may use the functions to customize event handling:
(function (window, document) {
	"use strict";

	let count = 0;
	const maxCount = 3;
	const intervalId = setInterval(function () {
		count++;
		console.log(`Attempt ${count}: ${window.chatWidgetConnected}`);

		if (window.chatWidgetConnected) {
			console.log("widget accessible");
			clearInterval(intervalId);
		}

		if (count >= maxCount) {
			console.log('Maximum iterations reached, stopping interval.');
			clearInterval(intervalId);
			if(window.matchMedia("(max-width: 768px)").matches){
				document.querySelector(".main-header-mobile").classList.add("fade-in");
			} else {
				document.querySelector(".main-header").classList.add("fade-in");
			}
		}
	}, 2000);

	window.chatActiveFunc = function () {
	};

	window.chatInactiveFunc = function () {
	};

	if(window.location.search.indexOf("_xyan_content") >= 0){
		document.querySelector(".main-header").classList.add("fade-in");
	}

	window.mountedFunc = function () {
		window.handleTrigger({"state": false});
		if(window.matchMedia("(max-width: 768px)").matches){
			document.querySelector(".main-header-mobile").classList.add("fade-in");
		} else {
			document.querySelector(".main-header").classList.add("fade-in");
		}
	};

}(window, document));